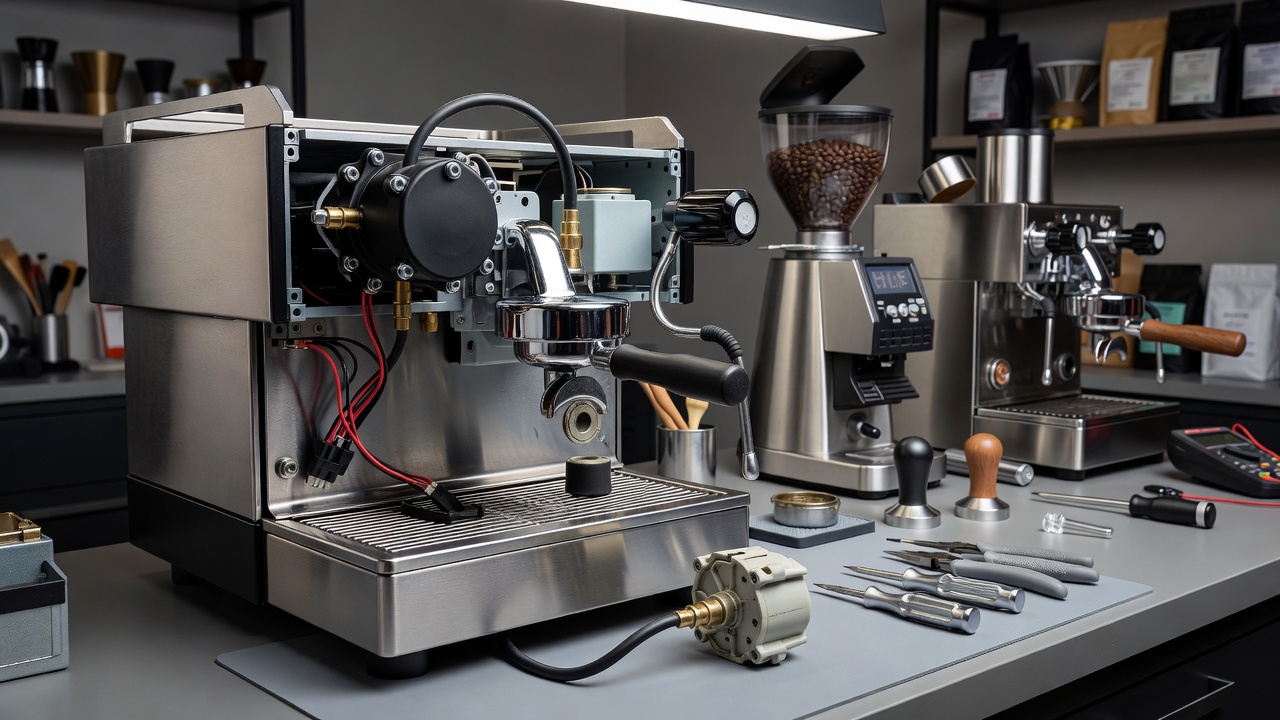
The Gaggia Classic Pro ships with a Ulka EP5 vibratory pump running at 15 bars of pressure. That's too high for espresso extraction. Most baristas adjust the OPV (over-pressure valve) to 9 bars. Some go further and upgrade the pump itself for quieter operation, better reliability, or pressure control. This guide covers both paths: adjusting the OPV and upgrading the pump.
Why Upgrade the Ulka Pump?
The factory Ulka EP5 pump in the Gaggia Classic Pro is rated for 15 bars of pressure. The machine's OPV bleeds off the excess to protect the boiler and group head. But 15 bars is way above the 9 bars you need for good espresso. Running the pump at full capacity means:
- More noise. Vibratory pumps buzz. At 15 bars, they buzz loud. The pressure relief valve constantly vents, adding a hiss to the mix.
- Faster wear. The pump runs harder than it needs to. Over time, that shortens its lifespan.
- Inconsistent pressure. The OPV is a bleed valve, not a regulator. Pressure fluctuates during extraction, especially if the puck offers variable resistance (channeling, uneven tamp, etc.).
Upgrading the pump (or adjusting the OPV to lower the setpoint) addresses all three issues. You get quieter operation, more consistent pressure, and longer pump life.
OPV Adjustment vs Pump Replacement
Before you buy a new pump, understand the two approaches:
Option 1: Adjust the OPV (No New Parts)
The Gaggia Classic Pro (2019+) has a non-adjustable OPV valve. Earlier models (pre-2015) had a screw-adjustable OPV that you could tune with an Allen wrench. The 2019+ model requires a spring swap to lower the pressure setpoint.
OPV Spring Mod Kit: Aftermarket spring kits (like Shades of Coffee's kit) include springs calibrated for 9 bars, 6.5 bars, and 5 bars. You remove the factory OPV spring and replace it with the 9-bar spring. This is the most common mod for Gaggia Classic Pro owners.
Cost: $10-20 for the spring kit.
Installation: Remove the top cover, locate the OPV valve (brass fitting on the side of the pump), unscrew the cap, swap the spring, reassemble. Takes 15-20 minutes.
Result: Lower pressure at the group head, quieter operation (less OPV venting), more consistent extraction. The pump still runs at 15 bars internally, but the OPV now opens at 9 bars instead of 12+ bars.
Option 2: Replace the Pump
Replacing the pump with a lower-pressure Ulka model (or a higher-quality pump like the Ulka EAP5 with better seals) gives you:
- Quieter operation. The pump itself runs at a lower output pressure, so it doesn't work as hard. Less vibration = less noise.
- Better longevity. A pump running at 9 bars for 9-bar extraction lasts longer than a pump running at 15 bars with the OPV bleeding off the excess.
- Easier future servicing. When you replace the pump, you inspect and clean the internal hoses, connections, and fittings. That's good preventive maintenance.
Cost: $40-70 for a replacement Ulka vibratory pump (EP5, EAP5, EAX5 models). Add $10 for silicone hose and clamps if yours are worn.
Installation: 30-45 minutes. Requires removing the top cover, disconnecting hoses and wiring, swapping the pump, and reassembling. More involved than the OPV spring swap, but still a straightforward DIY job.
Which Ulka Pump to Buy
Ulka makes several vibratory pump models. Not all fit the Gaggia Classic Pro. Here's what works:
Ulka EP5 (Original Equipment)
The EP5 is the pump Gaggia ships in the Classic Pro. It's a 48-watt vibratory pump rated for 15 bars. If your pump fails and you want a direct replacement, buy an EP5. It's cheap ($30-40) and widely available.
Pros: Exact fit, no modifications needed, cheap.
Cons: Runs at 15 bars (you'll still need to adjust the OPV), same noise level as the original.
Ulka EAP5 (Upgraded Option)
The EAP5 is a 52-watt pump with better seals and slightly higher flow rate. It's a direct replacement for the EP5, but it's built to last longer. Many commercial espresso machines use EAP5 pumps because they're more durable.
Ulka EAP5 Vibratory Pump on Amazon - $45-55. Includes inlet and outlet fittings. Fits Gaggia Classic, Classic Pro, Anima, Accademia, and other Gaggia models.
Pros: Longer lifespan, better seals, slightly quieter.
Cons: Still runs at 15 bars (adjust OPV), costs more than the EP5.
Ulka EAX5 (High-Flow Option)
The EAX5 is a high-flow vibratory pump used in some super-automatic machines. It's overkill for the Gaggia Classic Pro, but it fits if you want maximum flow rate for faster steaming and pre-infusion.
Pros: High flow rate, very durable.
Cons: Louder than the EAP5, more expensive, no real benefit for a single-boiler machine.
Third-Party Ulka Clones
Brands like MacMaxe sell Ulka-compatible pumps at lower prices. Quality varies. If you go this route, buy from a seller with good return policy in case it doesn't fit or fails early.
MacMaxe ULKA EAP5 Replacement Pump on Amazon - $35-45. Compatible with Gaggia, Saeco, and De'Longhi machines.
Pros: Cheap, usually fits.
Cons: No quality guarantee, shorter lifespan than genuine Ulka.
Installation Steps
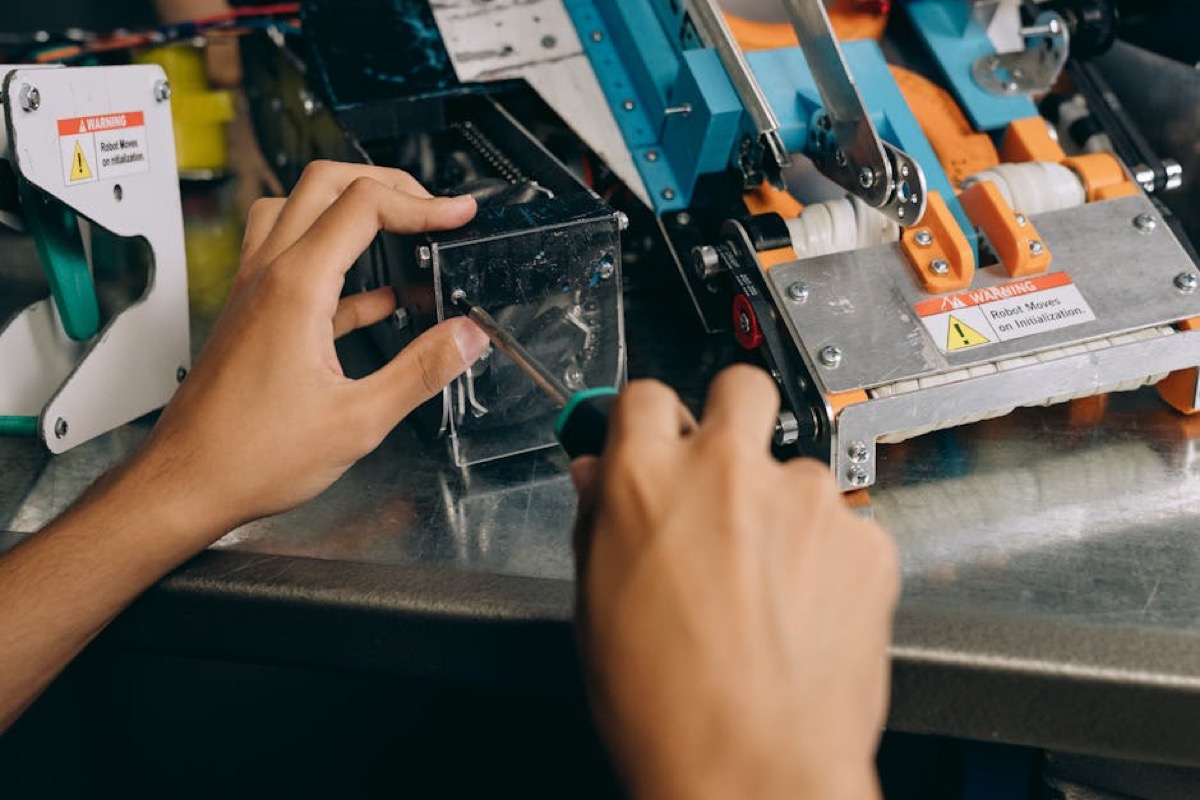
Replacing the pump is a straightforward DIY job. You don't need special tools beyond a Phillips screwdriver and a pair of pliers. Here's the process:
Step 1: Unplug and Empty the Machine
Unplug the Gaggia Classic Pro. Remove the water reservoir and empty it. Turn the machine upside down and shake out any water in the boiler (run the pump briefly if needed to clear the lines). Let it sit for 10 minutes to cool if you just used it.
Step 2: Remove the Top Cover
Remove the three screws on top of the machine (two at the back, one near the front). Lift the top cover straight up. You'll see the pump mounted on the right side of the chassis.
Step 3: Disconnect the Pump
The pump has three connections:
- Inlet hose - clear silicone hose coming from the water reservoir. Squeeze the hose clamp with pliers and slide it back, then pull the hose off the pump inlet.
- Outlet hose - clear silicone hose going to the boiler. Squeeze the clamp, slide it back, pull the hose off.
- Power wires - two spade connectors (usually blue and brown). Pull them straight off the pump terminals.
Mark the wires with tape or take a photo so you remember which terminal is which.
Step 4: Remove the Old Pump
The pump is held in place by a metal bracket or rubber mounting grommets. On the Gaggia Classic Pro, it's usually two screws through a metal bracket. Remove the screws, lift the pump out.
Step 5: Install the New Pump
Orient the new pump the same way the old one sat. The inlet (marked "IN") points toward the water reservoir. The outlet (marked "OUT") points toward the boiler. Screw the bracket back in place.
Step 6: Reconnect Hoses and Wires
Push the inlet and outlet hoses onto the pump fittings. Slide the hose clamps over the connections and squeeze them tight with pliers. Reconnect the spade connectors to the pump terminals (blue and brown - match your photo or tape labels).
Step 7: Test for Leaks
Fill the water reservoir. Plug in the machine. Turn it on and run the pump (press the brew button). Watch the hose connections for leaks. If you see drips, tighten the hose clamps.
Once the water flows freely through the group head with no leaks, you're done. Replace the top cover and secure it with screws.
Cost Breakdown
Here's what the upgrade costs, depending on your approach:
OPV Spring Mod Only
- OPV spring kit: $10-20
- Total: $10-20
Pump Replacement (DIY)
- Ulka EP5 pump: $30-40
- Ulka EAP5 pump: $45-55
- Silicone hose and clamps (optional): $10
- Total: $30-65
Professional Installation
If you don't want to DIY, a local espresso repair shop will charge $80-150 for labor plus the cost of parts. Total cost: $120-215. That's reasonable if you're not comfortable opening the machine.
Before and After: Real Results
What does the upgrade actually do for your shots? Here's what you'll notice:
Pressure Stability
Before: Pressure at the group head fluctuates between 8-12 bars during extraction, depending on puck resistance. The OPV bleeds off excess pressure, but not instantly. You get pressure spikes and dips.
After: Pressure holds steady at 9 bars (if you adjusted the OPV or installed a lower-pressure pump). The pump doesn't oversupply, so there's nothing for the OPV to vent. Extraction is smoother.
Noise
Before: Loud buzzing from the vibratory pump plus a hiss from the OPV venting excess pressure. The combined noise is intrusive, especially in an open kitchen.
After: Quieter pump operation (especially if you upgraded to an EAP5 or adjusted the OPV). The OPV vents less (or not at all), so you lose the hiss. Still a vibration buzz, but noticeably quieter.
Shot Quality
Before: Shots pull inconsistently. Some taste bitter (over-extracted from pressure spikes), some taste sour (under-extracted from pressure drops). Channeling is more obvious because pressure fluctuations make it worse.
After: More consistent extraction. Pressure holds steady, so variables like grind size and tamp pressure have clearer effects. It's easier to dial in a shot because the machine isn't fighting you.
DIY vs Professional Installation
Should you do this yourself or pay a technician?
DIY: When It Makes Sense
Go DIY if:
- You're comfortable with basic tools (screwdriver, pliers).
- You want to save $80-150 in labor costs.
- You like learning how your machine works.
- You have 45 minutes and a clean workspace.
The pump swap is low-risk. You're not soldering, cutting wires, or calibrating anything. It's plug-and-play. The OPV spring mod is even simpler - just a spring swap.
Professional: When It Makes Sense
Pay a technician if:
- You've never opened an espresso machine before and don't want to risk it.
- Your machine is under warranty (opening it voids most warranties).
- You don't have the tools or workspace.
- You want the technician to inspect and service other components (boiler descaling, gasket replacement, etc.) while the machine is open.
A good espresso repair shop will charge $80-100 for labor, inspect the machine for other issues, and test it before handing it back. That's worth it if you value the peace of mind.
Troubleshooting Common Issues
Pump Runs But No Water Flows
Check the inlet hose. If it's kinked or the hose clamp is over-tightened, the pump can't draw water. Loosen the clamp slightly, straighten the hose, and try again.
Water Leaks from Hose Connections
Tighten the hose clamps. If the hose is old and brittle, replace it. Silicone hose costs $5 per foot at hardware stores. Cut it to length and install fresh clamps.
Pump Is Louder Than Before
Make sure the pump is mounted securely. Loose mounting screws amplify vibration noise. Also check that the rubber grommets (if your model uses them) are in place. Missing grommets let the pump vibrate against the metal chassis.
Pressure Is Still Too High
If you replaced the pump but didn't adjust the OPV, the machine still runs at 15 bars. Swap the OPV spring to lower the setpoint. You can't rely on the pump alone to control pressure - the OPV is the final regulator.
Alternatives to Pump Replacement
If you're not ready to swap the pump, here are cheaper fixes for common pump-related issues:
Noise Dampening
Mount the pump on sorbothane or silicone pads. This absorbs vibration and reduces noise. 3D-printed mounts (like Loogle's low-noise Ulka pump mount on Printables) hold the pump on dampening pads. It's a $5 fix that makes a noticeable difference.
OPV Spring Swap (Again)
Seriously - if noise and pressure are your issues, the OPV spring mod solves 80% of them for $10-20. Do this first before buying a new pump.
Descaling
If your pump is loud or weak, descale the machine. Mineral buildup in the boiler and lines increases back-pressure, forcing the pump to work harder. Descale with citric acid solution every 2-3 months if you have hard water.
Is the Upgrade Worth It?
For most Gaggia Classic Pro owners, the OPV spring mod is the best bang for the buck. $10-20 and 15 minutes of work gets you quieter operation, better pressure control, and more consistent shots. You don't need a new pump unless the old one fails or you're chasing the last 5% of refinement.
If you're already opening the machine for other mods (PID installation, grouphead upgrade, boiler descaling), then yes - swap the pump while you're in there. The incremental cost is low, and you'll extend the machine's lifespan.
But if your pump works fine and you just want lower pressure, start with the OPV spring. It's reversible, cheap, and solves the core problem.
Maintenance After the Upgrade
Once you've upgraded the pump or adjusted the OPV, maintain it:
- Descale every 2-3 months (or per your water hardness). Scale buildup in the boiler increases back-pressure on the pump.
- Backflush weekly with espresso cleaning powder. This keeps the solenoid valve and group head clean, reducing strain on the pump.
- Inspect hoses annually. Silicone hoses crack and harden over time. Replace them when they feel stiff.
- Listen to the pump. If it starts making grinding or rattling noises, it's wearing out. Catch it early and replace it before it fails mid-shot.
Where to Buy
Here's where to source parts for the upgrade:
Replacement Pumps
- Ulka EAP5 Pump on Amazon - $45-55, genuine Ulka, fits Gaggia Classic Pro
- MacMaxe Ulka EAP5 Replacement on Amazon - $35-45, third-party compatible pump
- Whole Latte Love - genuine Ulka pumps, higher price but reliable shipping and support
OPV Spring Kits
- Shades of Coffee - ships to US, includes 9-bar, 6.5-bar, and 5-bar springs
- Gaggia-specific forums (Home-Barista, r/gaggiaclassic) often have group buys for spring kits
Gaggia Classic Pro (If You Need a New Machine)
Gaggia Classic Evo Pro (E24) on Amazon - The updated model with 9-bar OPV from the factory and stainless boiler.
Final Thoughts
The Gaggia Classic Pro is a workhorse machine. It's built to be modded, serviced, and kept running for decades. A pump upgrade or OPV adjustment is one of the simplest, highest-impact mods you can do. You'll hear the difference immediately, and you'll taste it in the cup.
Start with the OPV spring if you're new to espresso machine maintenance. It's cheap, reversible, and low-risk. If that solves your pressure and noise issues, great - you're done. If you want to go further, swap the pump for a higher-quality Ulka EAP5 and enjoy quieter, more reliable operation for the next 5-10 years.
Either way, you'll have a machine that pulls better shots, lasts longer, and costs less to maintain than replacing it every few years. That's the Gaggia Classic Pro advantage.